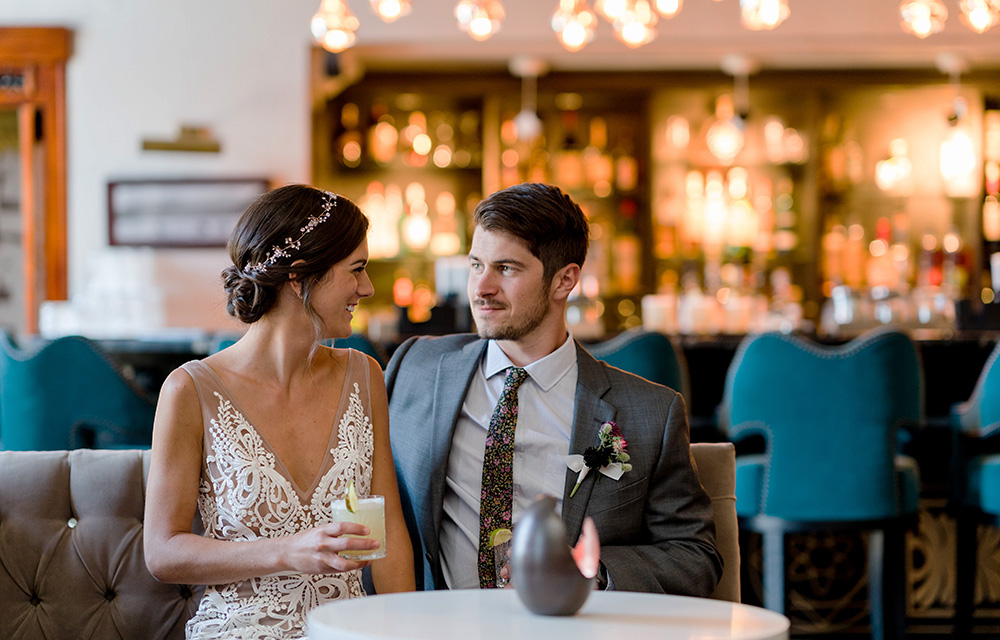
If your wedding venue recently had a big renovation, your old photos are looking a little tired, or it’s just been a few years, it may be time to hire a photographer to do an original shoot of your venue. These shots will make your marketing team’s job easier, as they’ll better reflect your property and be specifically composed to portray it in the best light, as opposed to a real event, in which certain elements out of your control. Whether the photos will be used on your website, in your event brochure, or as part of some other wedding venue collateral, remember that for many, this will be the only window into your venue. It could be a trusted friend of the bride looking through the photos, potentially swaying her decision. So, these shots must bring your venue to life for every new set of eyes.
Here are some tips to help the photographer capture the photos that’ll put a punctuation mark on your wedding venue marketing and help you capture bookings.
Before the Shoot
Step 1
Create a shot list and cover it with the photographer ahead of time. Some shots you’ll want to capture include scene-setting photos of the landscapes or items that are significant to the property (for example, a grove of trees, a certain garden, plaques and/or signage inside). These detail shots can work nicely in marketing material placed next to a room shot or wide-angle photo of the entire building.
You’ll also want to have each room and outdoor setting photographed from multiple angles. You may see things during the editing process and realize a certain angle is better on camera than in person, or vice versa. And also be sure to get shots of signature cocktails and dishes in the property’s restaurant.
Step 2
Build out a timeline for the shoot and run it by the photographer, so you can stay on task and don’t rush through the styling piece just to “get the shot.”
Step 3
Have your photographer hire a model bride and groom – they don’t have to be in every shot, but it gives the photos a dimension that scene-setting shots can’t.
Step 4
Walk the grounds the day before the shoot, looking for areas that shine due to a particular season or time of day.
Step 5
Make a list of areas that need to be attended to or cleared of clutter. Ex: electronics, miscellaneous electrical cords, stray nails, unsightly trash cans, etc.
Step 6
Schedule an assistant to be with you on the day of the shoot for moving items in and out of shots, staging props, fluffing pillows, etc. This is essential. A second set of creative eyes will help you capture everything on your list effectively.
During the Shoot
Step 7
Always shoot the venue’s view 360 degrees – one straight-on shot can be deceiving, and it’ll help give couples a broader idea of the venue.
Step 8
Consistently look around for any clutter, especially miscellaneous electrical cords, cable boxes, plastic trash cans, etc. and move them out of the shot.
Step 9
Capture rooms, especially lobbies, both empty and with movement.
Step 10
Spread your focus. Capturing different rooms, architecture, and landscapes are important, but so are the details. Look for small items significant to the property, such as artwork on the walls, the glint of light in the elaborate chandelier overhead, etc. Study the way guests move throughout the space and consider what is eye-catching to them.
BONUS: Always Produce a Signed Contract
If your relationship with a top photographer partner in your area means the “price” of this shoot is in ad trade or some other agreement that does or does not include a cash transaction, you may brush off the idea of a signed contract. Don’t. Particularly since you’re likely working with a top partner, it helps make sure this shoot doesn’t create a rift by clearly outlining the expectation for both of parties as well as what rights you have to the images.
United States copyright laws state that artists own all rights to their created images and can sell/transfer rights to clients and/or agencies. Most questionable negotiations historically default in favor of the artist. Even a minor use or modification of the art/photograph require the artist’s permission. It is important to remember that your business is essentially licensing, not buying, an image from the artist, unless explicitly stated on the contract. Licensing can be defined as “a legal agreement granting permission to exercise a specified right or rights to a work within certain usage guidelines.” Your fee for “licensing” the image(s) may be as simple as ad trade or free exposure, but no matter the agreement, it is important to understand the terms of the usage and agree with your photographer partner in writing what the scope of those rights are.


